Fellow Photographers, I want to introduce myself. I’m Dan Harlacher, the VP of Products at ON1. You may recognize me from some ON1 announcement videos ...
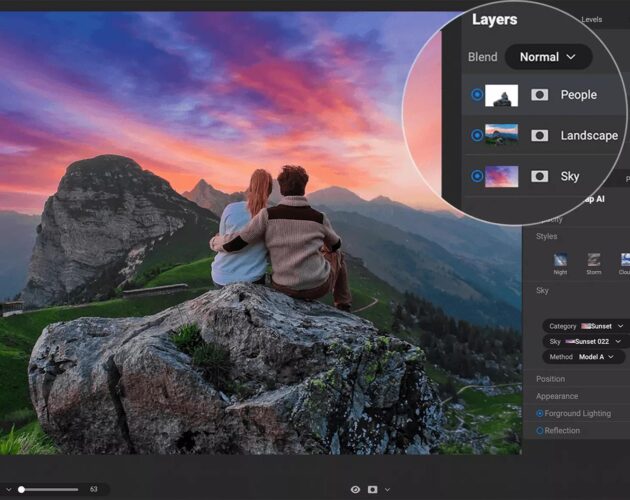
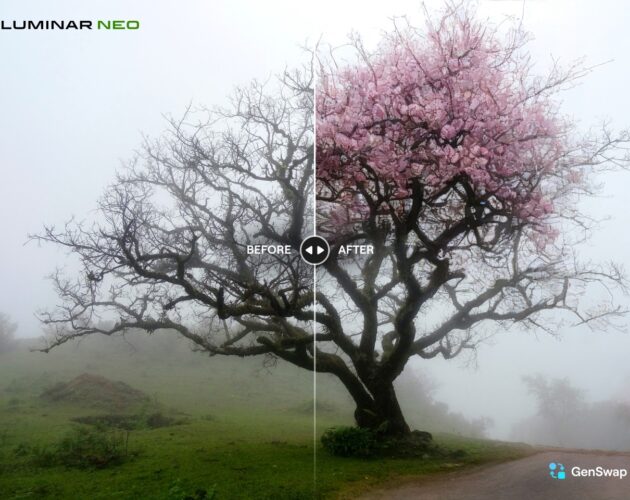
At its core, Luminar Neo is about pushing the boundaries of photo editing by creating intuitive, powerful and easy-to-use tools that are accessible to photographers ...
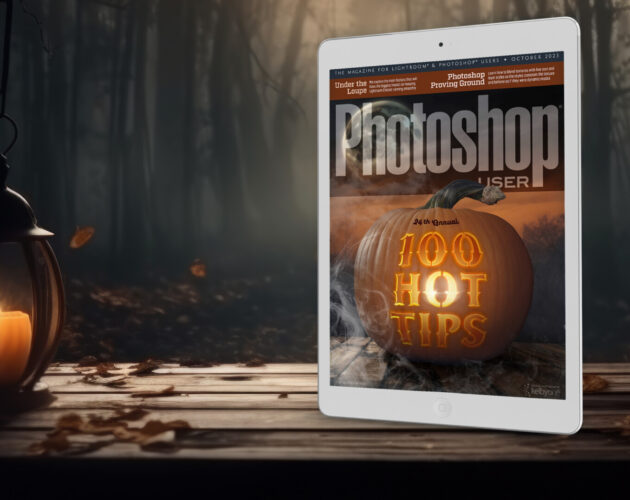
The latest issue of Photoshop User magazine is always available to read with a free KelbyOne membership. Pro members have access to more than 100 back issues! Click ...
In the age of digital photography, editing your photos is an integral part of the creative process. However, it’s important to exercise caution and avoid ...
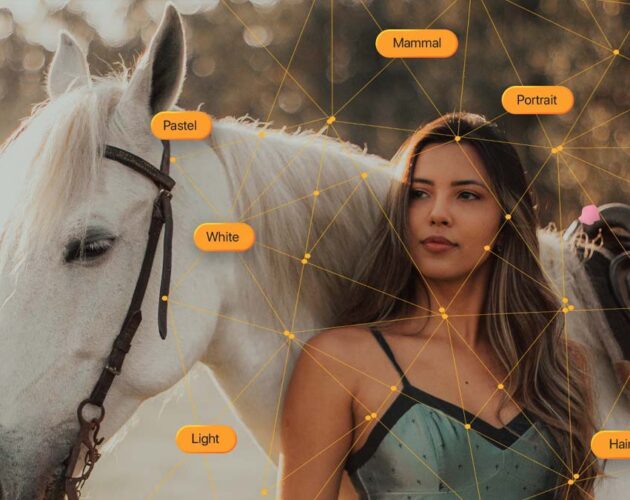
ON1 has introduced an exciting new AI photo organizer, ON1 Photo Keyword AI 2023. This application harnesses the power of machine learning to make your ...