If you haven’t done so already, complete the first two parts of this tutorial and download the support files to follow along. We’ll be finishing up this tutorial with an introduction to pull quotes and text wraps.
Step 1
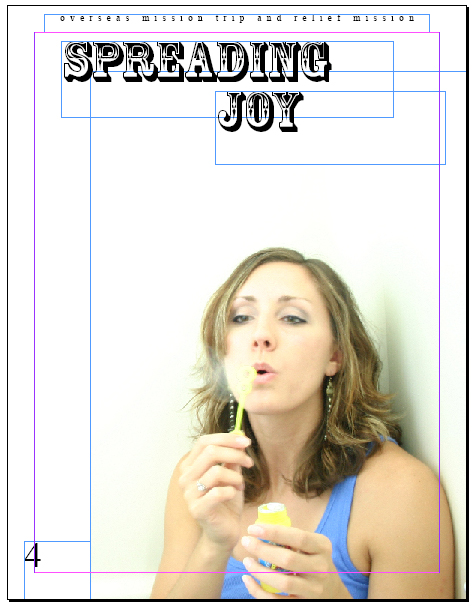
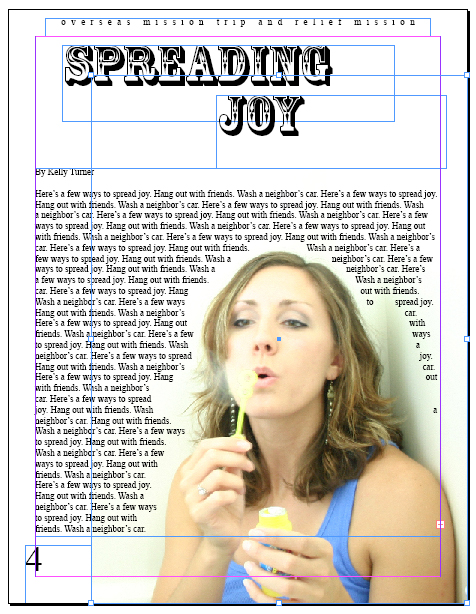
Open the Adobe InDesign publication file we saved from the second part of the tutorial. Go to the back cover (page 4) and use the Text tool to add a title using the same font we used for the titles on page 3. I used Rosewood. Creating two separate text boxes enables us to move each line to where we want with a Selection tool, instead of having to move it word-processor style.
Step 2
Go to File>Place and select the Word document, Spreading Joy.doc. Instead of clicking-and-dragging a text box, just click somewhere and the entire article will be placed. Move it so it’s over the photo like shown here.
Step 3
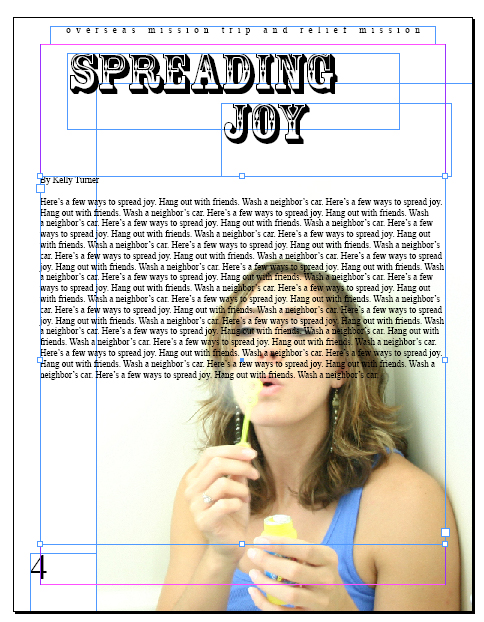
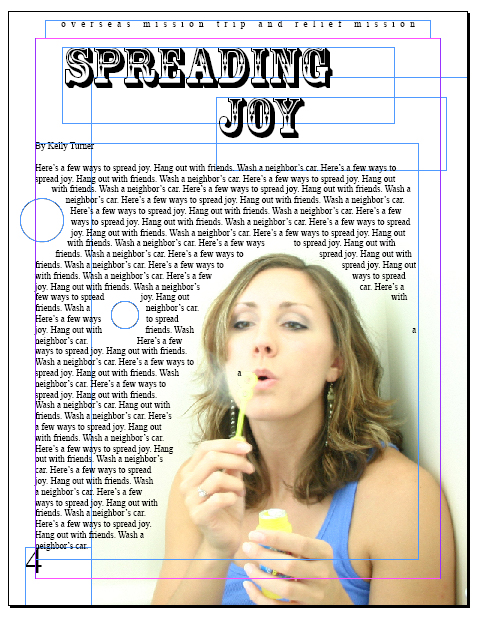
Select the photo of the woman blowing the bubbles. Open the Text Wrap palette (Window>Text Wrap). Click the third-from-left option at the top so the text will wrap around our photo. Normally the text will wrap around the entire photo. But since this photo is overexposed and has a lot of white area in it we can have text, let’s have the text wrap more specifically around the subject in the photo instead of the entire photo. Change the Contour Options to Detect Edges.
Step 4
This causes the text to wrap around the woman.
{module:ads/large_rectangle}
Step 5
Draw two circles using the Ellipse tool (hold Shift to make perfect circles). Select them with the Selection tool and add a text wrap on the Text Wrap palette. Select the third-from-left option at the top. We also want to get rid of the lines where only a word or two is, on the right side of the woman. So move the photo over to the right a little bit to push the text out of that area.
Step 6
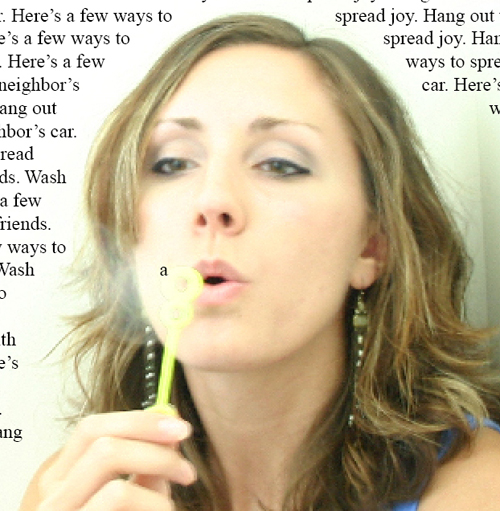
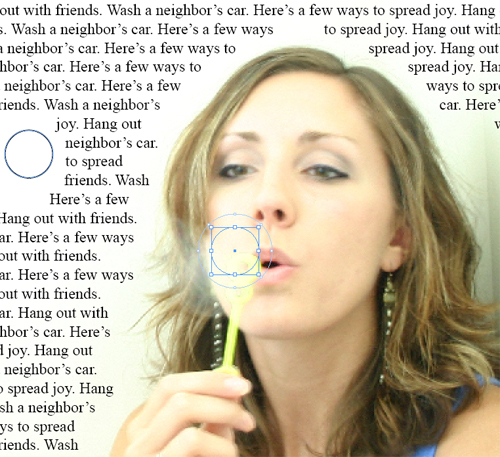
One downside of using the Detect Edges County Option on the Text Wrap palette is that it may allow text into areas you don’t want it to be. For the photo of the woman blowing bubbles, the white area shown here has let an “a” letter in there.
Step 7
Let’s fix that. One way to do that is to create an object-such as a circle here-and add a text wrap to it on top of the area we don’t want text.
Step 8
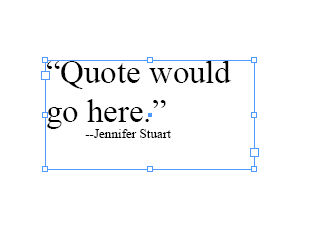
Let’s add a pull quote to one of the articles. Go to page 2 and off to the side use the Text tool to add a quote. Change the font size of the actual quote and have the source of the quote be a smaller font size.
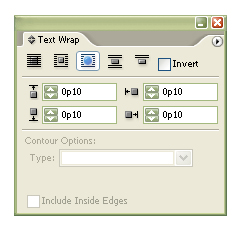
Step 9
Add a text wrap to this text box, using the same option as the other text wraps.
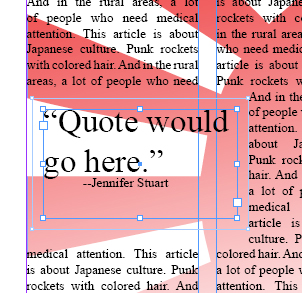
Step 10
Next, click-and-drag the text box with the Selection tool over an area of text. Placing it on the edge somewhere prevents it from creating awkward short text sections such as would happen with placing it slightly off the side of the page.
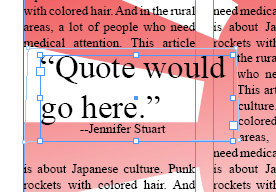
There’s a little too much white space here between the pull quote and the article. Fix that by clicking-and-dragging the sides of the text wrap. You can move the line or just a corner. This enables the text to get closer to the pull quote.
Now we’ve created a four-page publication and learned a few techniques in the process. Try creating a newsletter, portfolio, or magazine with the same tools we’ve used here.