
Sharpening Using High Pass Filter

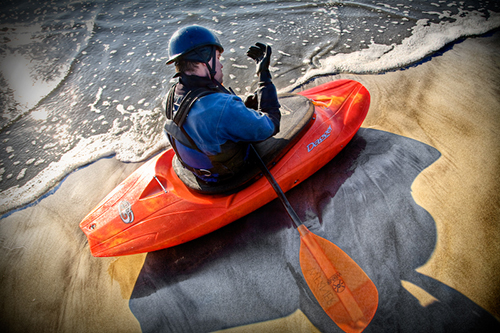
Begin by opening an image you feel needs sharpening. Remember, this method will not fix an image that is out of focus. Rather, it will add an extra degree of crispness, really bringing out details and making your image pop.
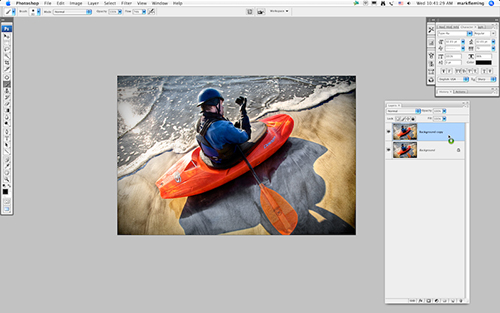
Once I have my edited file ready, I usually save sharpening for very last. You will want to flatten any layers you may have. Create a copy of the background layer by dragging it to the ‘create new layer’ icon at the bottom of your layers palette.
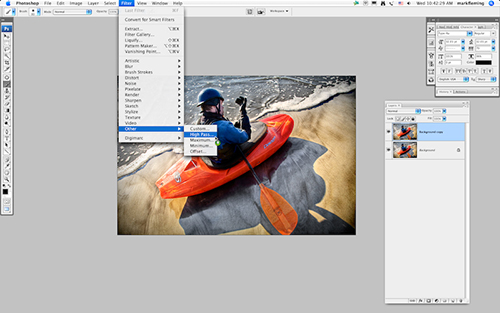
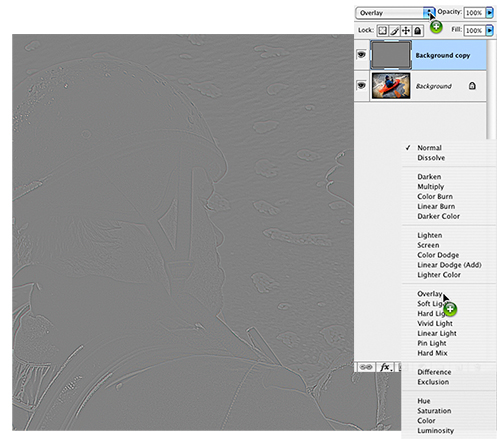
With the newly created ‘Background Copy’ layer selected, go to Filter > Other > High pass.
Once you click on the High Pass filter you will get a very strange looking image. What you will see is an almost entirely grey version of your shot, however, if you play with the radius setting in the High Pass dialog, you will notice the edges of your image are highlighted. For sharpening purposes you will want to set your radius anywhere from 0.5 to 1.
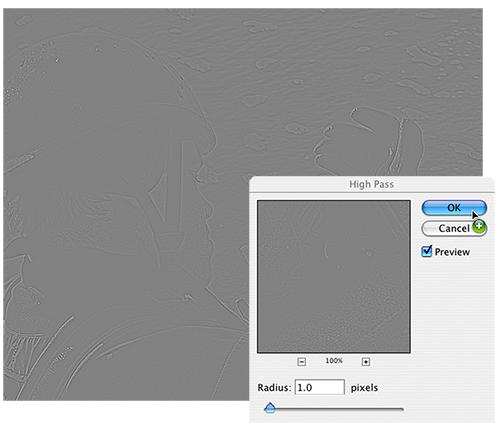
You will want to set your radius to a point where your edges are just barely visible, then click OK.
Next, with your background copy layer selected, press Shift-Command-U (PC: Shift-Ctrl-U). This key combination de-saturates the layer, removing the unusual colors from your edges.
The final step is to select the overlay-blending mode for your high pass layer. This will remove the grey appearance and perfectly map your background layer.
Of course, the final step is to flatten your image and go directly to print or to web. One thing I do like to do though is to zoom in to a 100% and click the high pass layer visibility on and off.
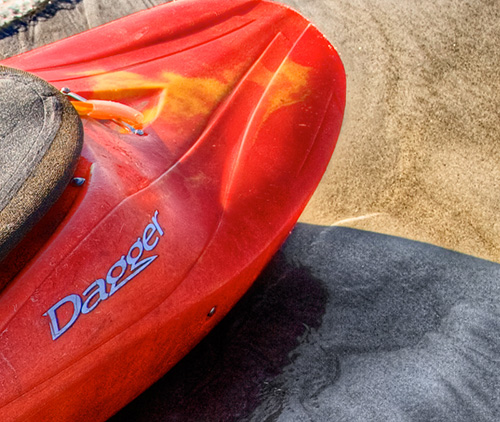
BEFORE (above)
AFTER (below)
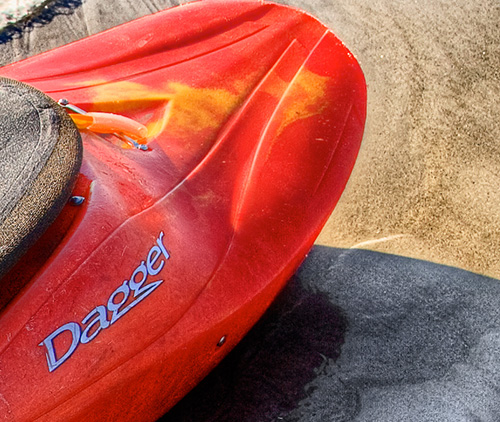
This will clearly show you what the sharpening has done for you. Sometimes the effect is more desirable than others. Play around and soon you will get the feel for which images need sharpening and exactly how much.

